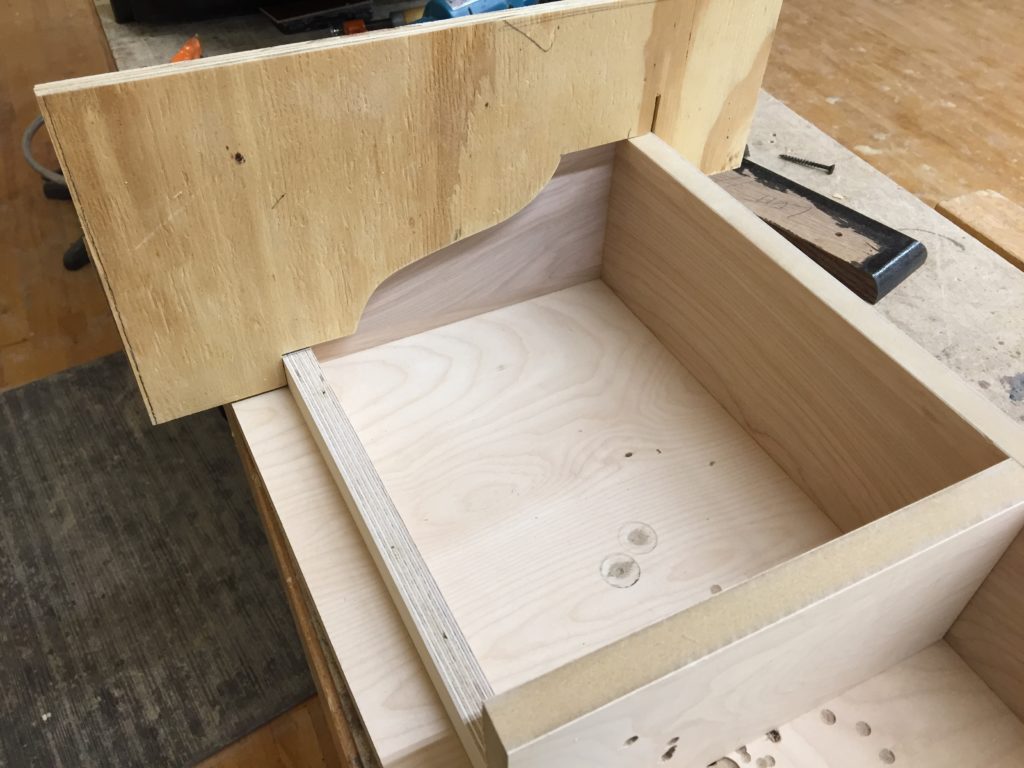
The template for the lion is done except for attaching the one side piece once I decided how wide the sculpture was going to be, after coming home and measuring the lions head and found it was 9″ wide, I decided on 11″ wide for the backing block, so just like they did the old plaster ceiling moldings this box and template is used the same way but on clay.
I have the 1st section of the little mold made, after it hardens I can mold on the next section, it will take 3, maybe 4 pieces.
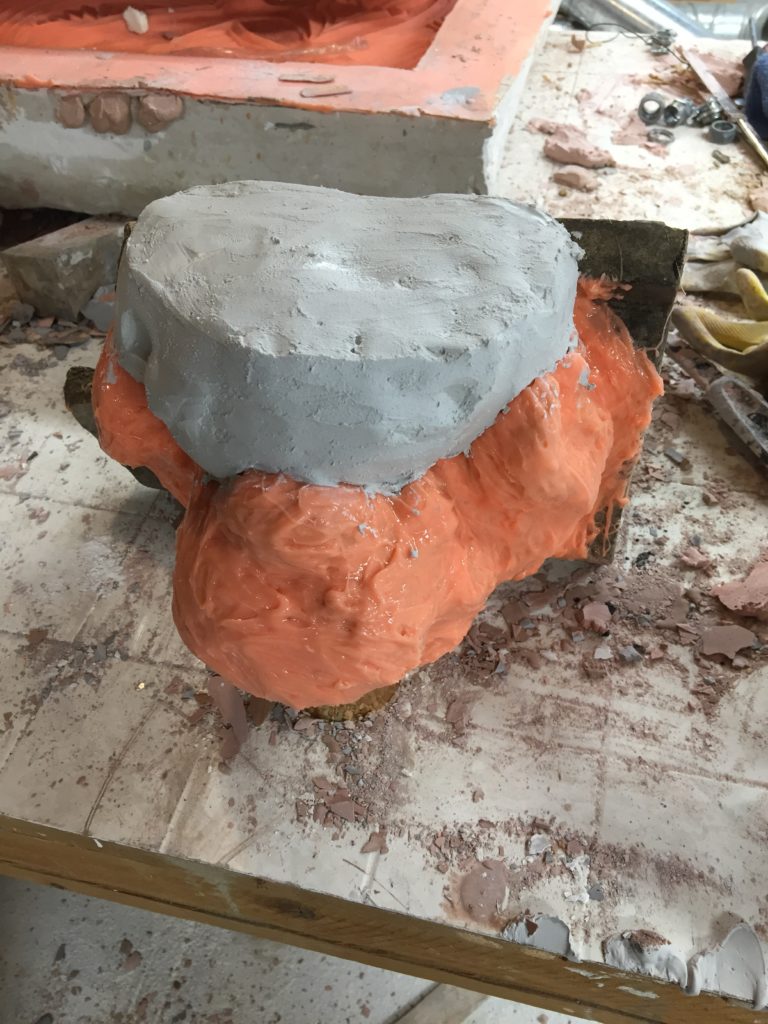
Now I can take this and incorporate him into the new clay backer and while the plaster cast is still wet make a mold of the whole thing since the rubber I use is unaffected by moisture in the model.
This would have to be done on the moist clay once formed since clay shrinks as it dries and plaster does not.
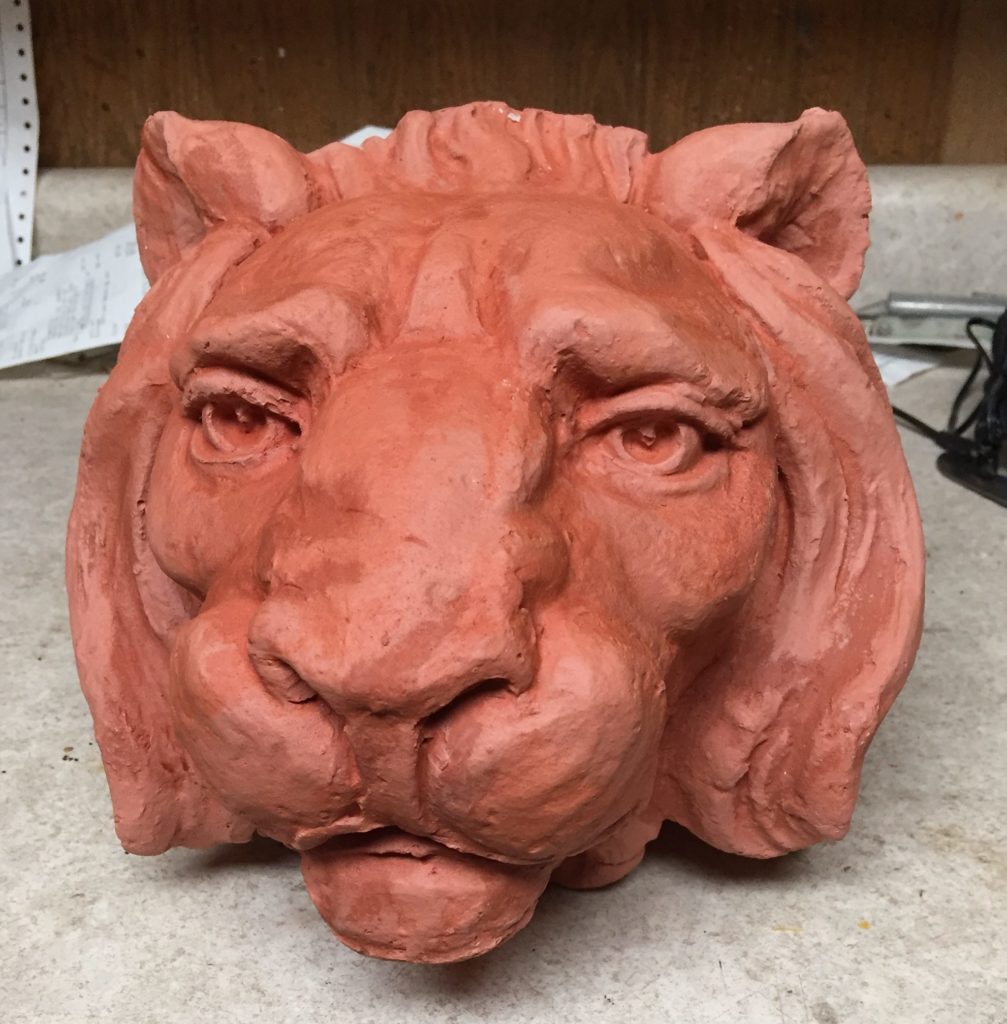
I went ahead and shaped the clay backing block for the lion with the template box and just set the lion in it’s approximate position for the photos and then sealed it up in a plastic bag to keep it from drying too much too quickly, once the clay sort of firms up I can remove the sides of the box and finish and tool texture the 4 sides and the face nicely, and then look at setting the lion in and filling the gaps around the sides of it.


